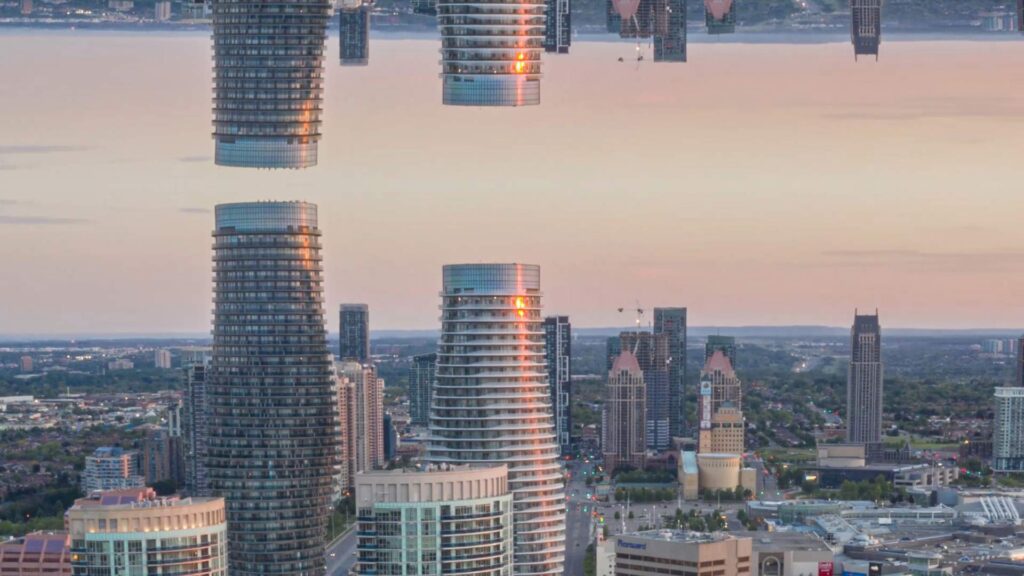
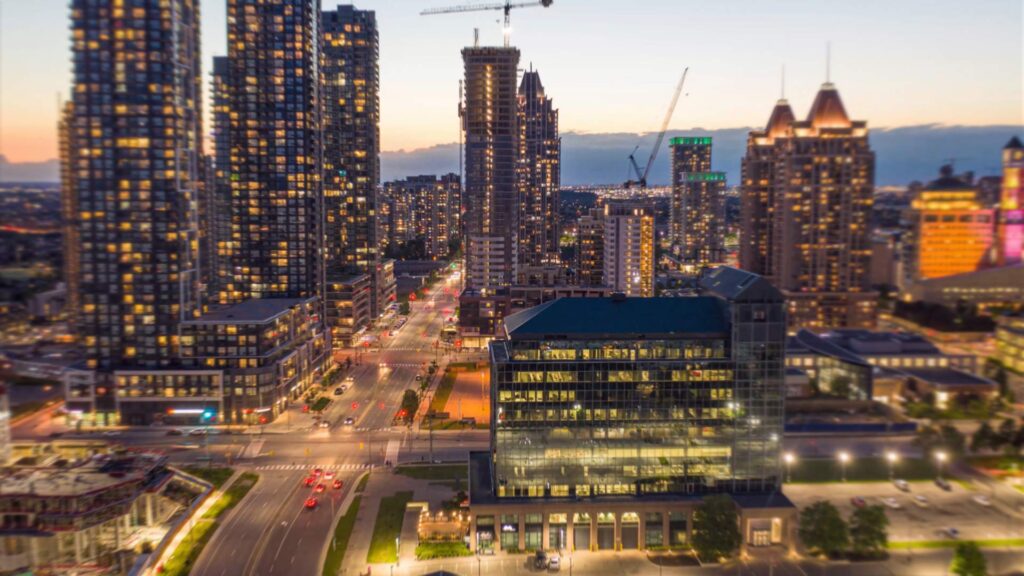
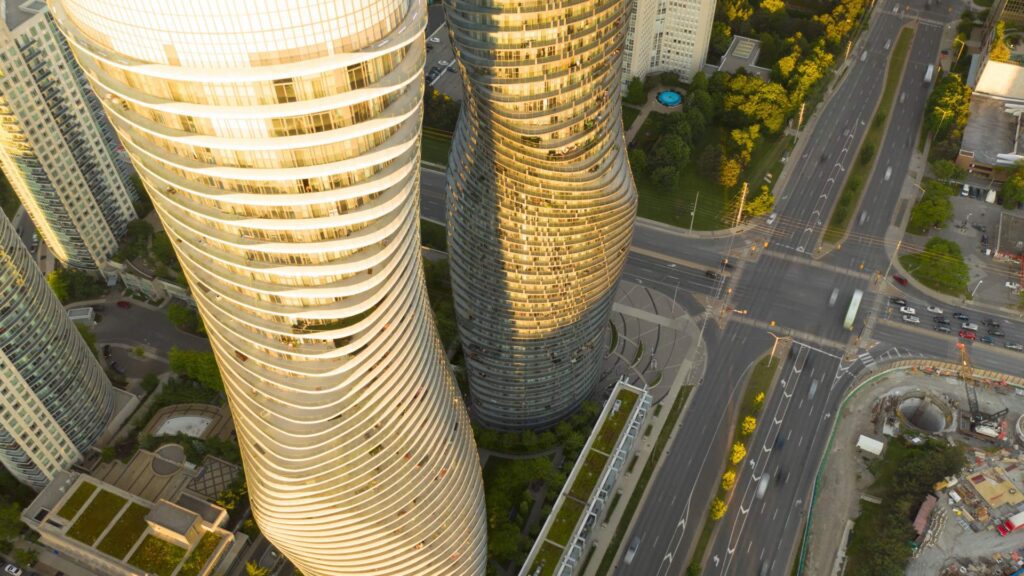
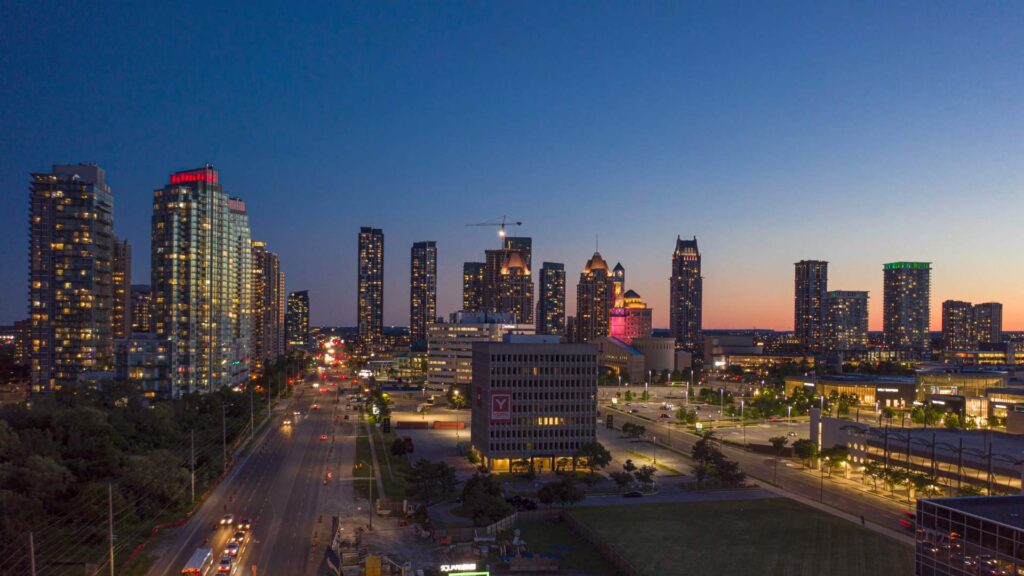
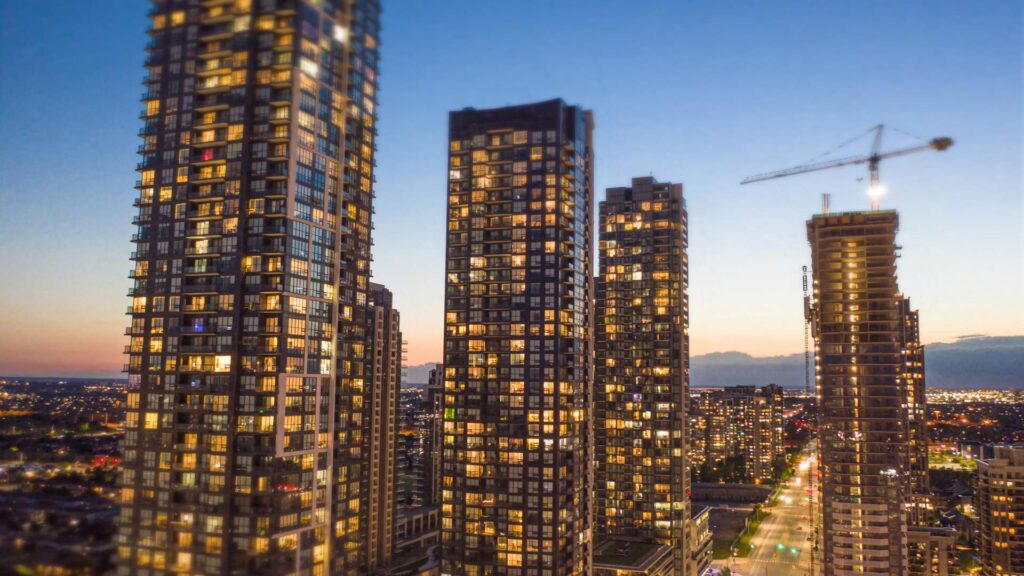
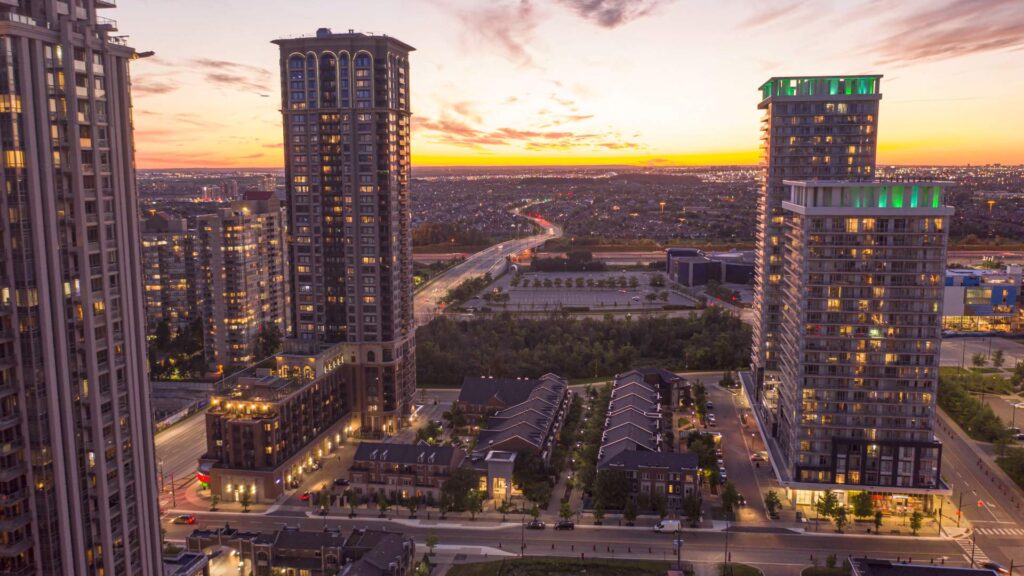
Hyperlapses have become a lot more accessible for drone operators thanks to the release of the Mavic 2 pro. When I first bought this drone, I had no idea about the power available within the hyperlapse mode. Thanks to the low shutter speed required for hyperlapses, you can even capture great night time footage too. I spent the last few weeks building up a collection of drone hyperlapses around the Mississauga core with the goal of putting this short video together. Most of the shots were taken during golden hour or just after. Below is a list of the camera settings and gear used to make this video, with explanations of why for each setting.
*Drone: (Mavic 2 Pro)
*ND filter: (Freewell Variable ND Neutral Density) Having a variable ND filter is so much more convenient than having to switch the ND filter every time the lighting changes. These variable ND filters also go all the way up to 9 stops which will be needed to set your shutter speed to 1/4 on a bright day. I looked at the ND filter options for quite some time before purchasing and I’m very happy I found these.
*ISO: (100) Always keep your ISO as low as possible. There were a few situations where I had to raise the ISO to 200 or 400, but that’s all.
*Shutter speed: (1/4) After running some tests, I found this to be the optimum shutter speed to give me the motion blur I was looking for. If you don’t have an ND filter, you will end up having to use a much higher shutter speed which will eliminate the motion blur and give you an unnatural looking hyperlapse.
*White balance: Do not use auto white balance. Anything besides auto will work. I typed in a kelvin setting before each shoot. If you leave it on auto white balance then the colour will change and update over time which will mess up your hyperlapse.
*RAW vs jpeg: Shoot RAW images instead of jpeg for best quality. The difference in quality here is massive. RAW images allow you to edit all the images in lightroom to get the most dynamic range and best quality. This is key!
*Post production: Bring all of the images into Lightroom. Edit one of the images to make it look its best. Then copy and paste those settings onto all the images. Import into Premiere Pro as an image sequence. Interpret the footage to select frame rate (23.976 was my choice for this project). The final step is adding warp stabilizer to smooth out the footage and remove any bumps/jumps.
Feel free to ask me any questions in the comments or on social media. I’m off to pick my next drone hyperlapse location! Toronto is on my list!
